


How to Achieve Seamless Wallet Integration in Your Polkadot dApps with Polconnect
Learn how to seamlessly integrate wallet connection and management into your Polkadot dApps using the power of Polconnect Kit


Polconnect is the React library for connecting Polkadot wallets and managing connected chains, as well as fetching connected user information like user balances, user addresses, etc. focused on making life easy for Developers and ensuring a stellar UX for end-users
Imagine this: With just one simple line of code, your users gain the ability to effortlessly select their preferred wallet for connection. It might sound unbelievable, but it's entirely achievable.
In this technical tutorial, I'll show you how to add a 'connect wallet ' feature to your polkadot Dapp
Behold, this is our end result

Here is what you need to follow along
Basic understanding of reactjs and nextjs
Basic understanding of tailwind CSS
Initialize new NextJs project with tailwind CSS
In this tutorial, we will be using Tailwind CSS for styling and I assume you have a basic understanding of Tailwind CSS
Let's start coding 👨💻
After initializing the new NextJs project
We also need to install two additional packages, polconnect and polkadot/api
// run the command
 yarn add polconnect @polkadot/api
Polconnect setup
First of all, we have to wrap our application inside PolkitProvider
// anviagate to src/pages/_app.tsx
// _app.tsx

import '@/styles/globals.css'
import type { AppProps } from 'next/app'
// import polkitProvider  from polconnect
// and import import  chain  you can import any supported chain but for  this  demo  we will use astar network as default chain

// The  polkitProvider takes 3 parameters
// 1 - defaultChain: this  is the chain will be initialized by default
// 2- theme : you  can used  dark theme or light theme
// 3- appName : it's  your application name

import { PolkitProvider, astar } from 'polconnect'
export default function App({ Component, pageProps }: AppProps) {
  return (
  <PolkitProvider defaultChain={astar} theme='light' appName='testing app'>
    <Component {...pageProps} />
  </PolkitProvider>
  )
}
Everything is good so now we have completed polconnect setup, the next step is to create a component folder in the src directory
inside the component folder, create a new file called Navbar.tsx
This is the file where we will add the connect wallet button
File: /Navbar.tsx
// Navbar.tsx

import React from 'react'
// Import connectButton from polconnect

// the  ConnectButton component  takes  theree  props
// 1- labels : this  is the label of your button  you can choose any text you want  like  'connect wallet' / 'sign in' etc
// 2 - backGround : this  is the background of your  button
//3 showChain : this is option to choose  if you want to dispaly  switch or connected chain  it takes bolean value

import {ConnectButton} from 'polconnect'
export default function Navbar() {
  return (
    <div className='h-[60px] border-b border-pink-600 flex justify-between  w-screen items-center px-3'>
         <h1>PolconnectKit Demo 👽</h1>
        <ConnectButton  label='connect wallet' backGround='blue' showChain={true}  />
    </div>
  )
}
Now let's open our project and see what we are working on by running yarn dev and opening our site on http://localhost:3000/
Now looks good we can connect the wallet disconnect the wallet and switch networks but believe it or not we're not finished yet 😎
Imagine a situation where you want to check whether a wallet has been connected or not yet. For example, if you want to restrict page access to only connected users, polconnect exports another hook called usePolkit Let's write code to understand how it works
File: src/index.ts
I will start by designing it a little bit; see the code below
//  we improved the style of the hero section
// now  all elements inside the  hero section is vertically and  horisontally  centered

import Image from 'next/image'
import { Inter } from 'next/font/google'
import Navbar from '@/components/Navbar'

const inter = Inter({ subsets: ['latin'] })

export default function Home() {
  return (
    <main
      className={`flex min-h-screen flex-col items-center  ${inter.className}`}
    >

      <div>
        <Navbar />
      </div>

      <div className='h-screen flex  w-screen justify-center items-center '>
        Hellow
      </div>
    </main>
  )
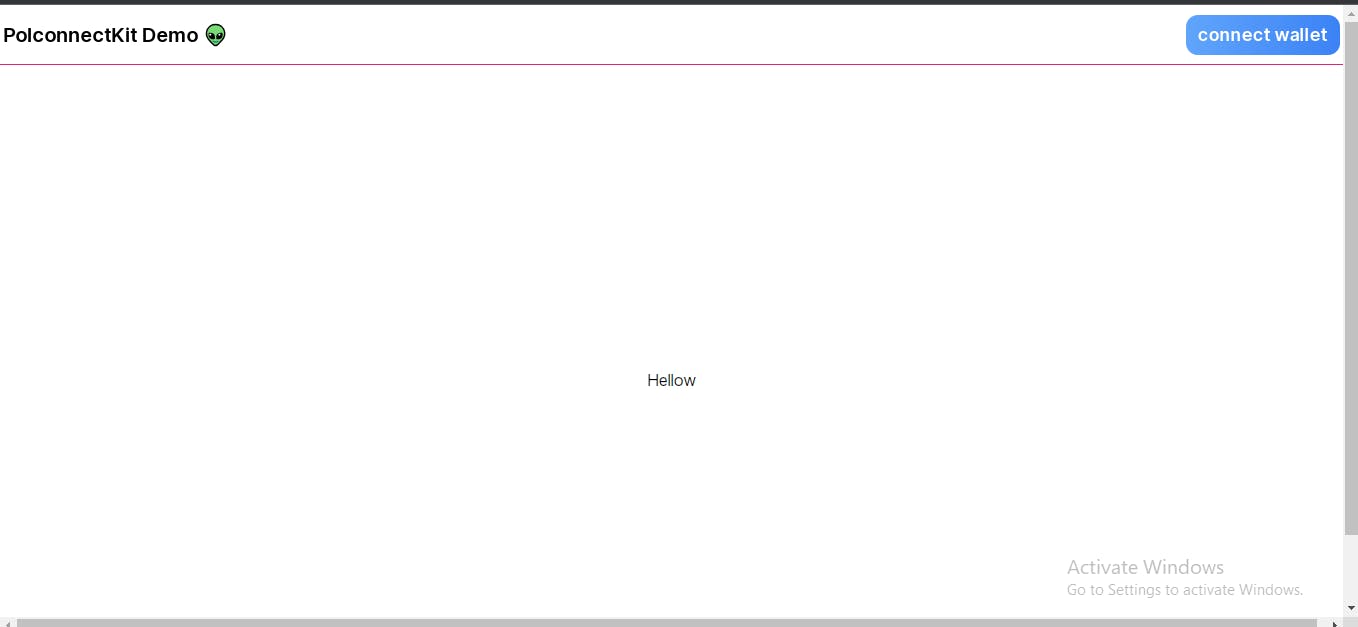
as you can see, the Hellow paragraph is centered
Instead of displaying hellow text, we will display text conditionally if the user has connected the wallet We will display, 'Hey man, You have connected the Wallet
and if the user has not connected to a wallet, we will display the text, 'Please connect your wallet first to see magic'
File: /index.tsx
let's start by importing usePolkit hook from 'polconnect'
// index.tsx
import  {usePolkit} from 'polconnect'
// Step 2: Retrieve the isConnected value from the usePolkit hook.
  const {isConnected} = usePolkit()
Now let's use isConnected to render text conditionally
import Image from 'next/image'
import { Inter } from 'next/font/google'
import Navbar from '@/components/Navbar'
// imported usepolkit from polconnect
import  {usePolkit} from 'polconnect'
const inter = Inter({ subsets: ['latin'] })

export default function Home() {
// distructure 'isConnected' from uspolkit() hook
  const {isConnected} = usePolkit()
  return (
    <main
      className={`flex min-h-screen flex-col items-center  ${inter.className}`}
    >
      <div>
        <Navbar />
      </div>

      <div className='h-screen flex  w-screen justify-center items-center '>
         {isConnected  ? (
          <h1 className='text-2xl font-semibold'>Hey man, You have  connected the Wallet</h1>
         ) : (
          <h1 className='text-2xl font-semibold'>Please connect your  wallet first to see magic</h1>
         )}
      </div>
    </main>
  )
}
Now let's open our site on http://localhost:3000/ to see changes
usePolkit hook returns so many useful methods We're not going to talk about all methods in this tutorial; I wanted to make it short and straightforward
We have come to an end. I'm grateful for your time and attention If you have any questions, leave a comment I'll be active in answering all questions